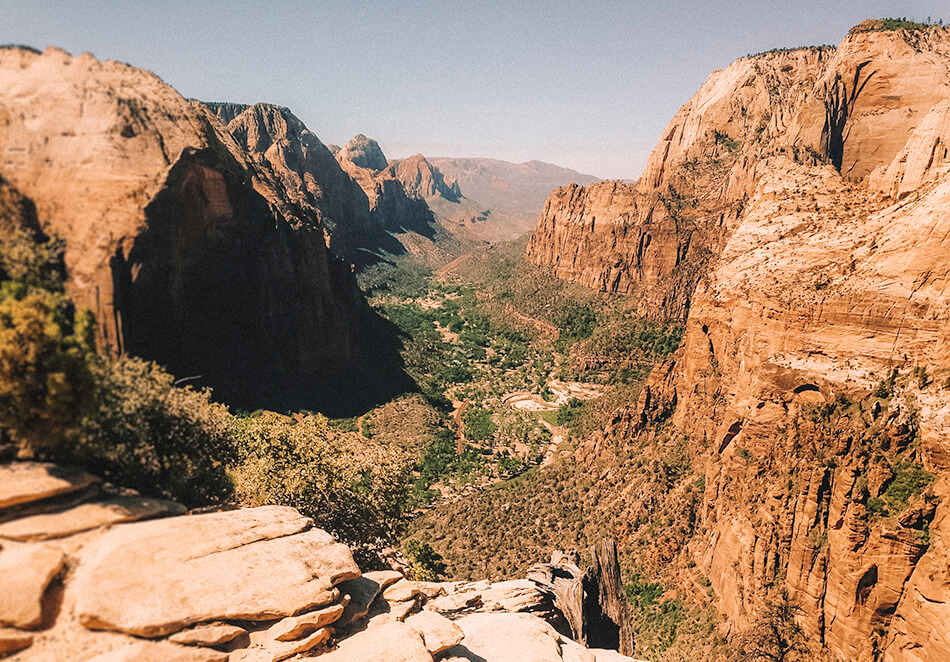
I have to confess that a part of me was secretly freaking out when we started our climb to Angels Landing. I had been looking forward to this hike since we started prepping our Southwest USA road trip. Angels Landing is one of the world’s most renowned hikes, worthy of all bucket lists. But the closer we got to actually doing the hike, the more I started to doubt if I was going to cope with the toughness. Not to mention the 1000-foot drop-offs on each side of the 5-mile trail. After all, six people have died hiking to Angels Landing.
Hiking to Angels Landing
My Lonely Planet wasn’t very helpful on motivating me either: “Sure, you get an adrenaline rush conquering your fears while hiking up steep ascents past sheer drop-offs. But this is not Disneyland. The danger is real. Loose stones can be slippery and every year people die from falls off cliffs. Even minor injuries can turn serious when difficult terrain means rescuers are hours away. Just be prepared and pay attention. We can’t believe we have to say this, but flip-flops (thongs) are not appropriate hiking footwear for Angels Landing. And parents, please keep hold of young children. We want you, and your offspring, to be reading our books for years to come.”
Mentally preparing myself
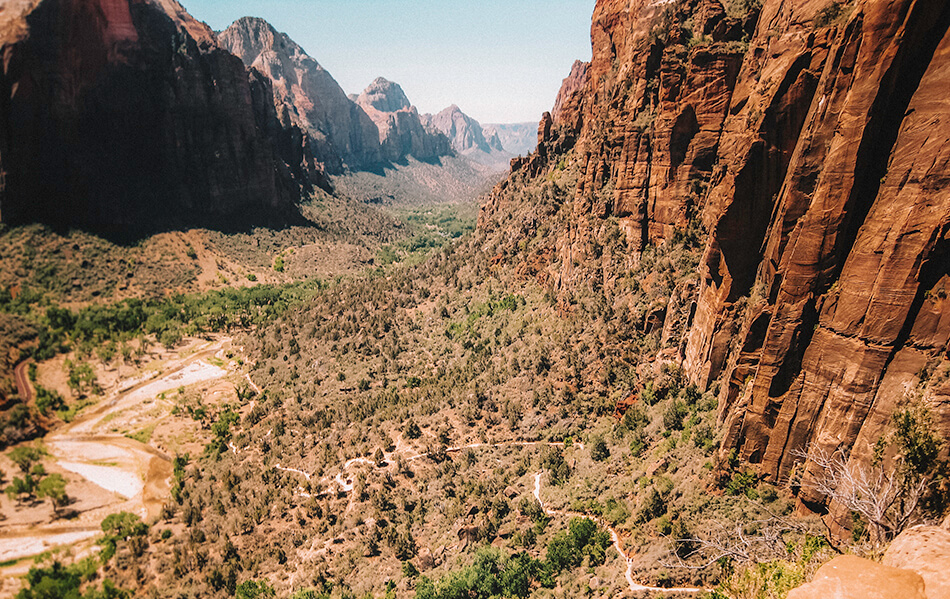
Trying not to let fear get the better of me, we got up at the crack of dawn and took the first shuttle of the day to the hike’s starting point at The Grotto. We came up with a plan just in case the trail would start scaring the bejesus out of me. The dangerous part of the Angels Landing trail doesn’t come until after Scouts Lookout, the final half-mile scrambling section to the top. If I felt I wasn’t up to the final part of the hike, we would simply turn back. We still would have enjoyed the amazing views that were promised by our (not so motivating) guidebook. But we both agreed we would regret it if we didn’t at least try.
The West Rim Trail
The sun was just starting to light up the mountain peaks and warm up the valley floor, still cloaked in morning shadow. I looked up to the fin-shaped rock to the left that is the endpoint of the Angels Landing trail and realized that we would have to climb ALL THE WAY UP THERE, while hanging onto security ropes bolted into the red rocks. Determination set it in and I thought to myself, if others can do it, so can I.
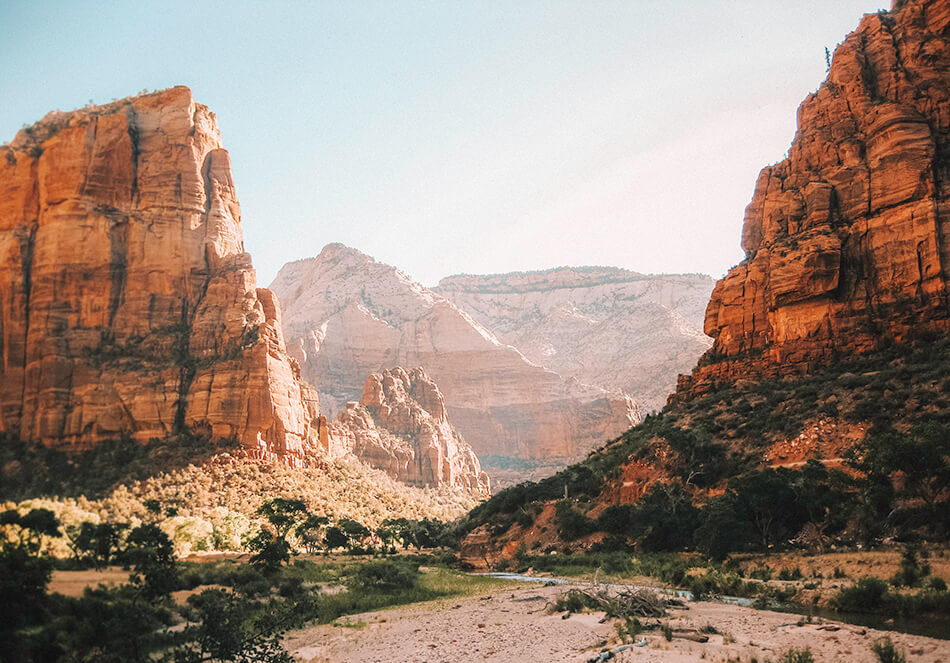
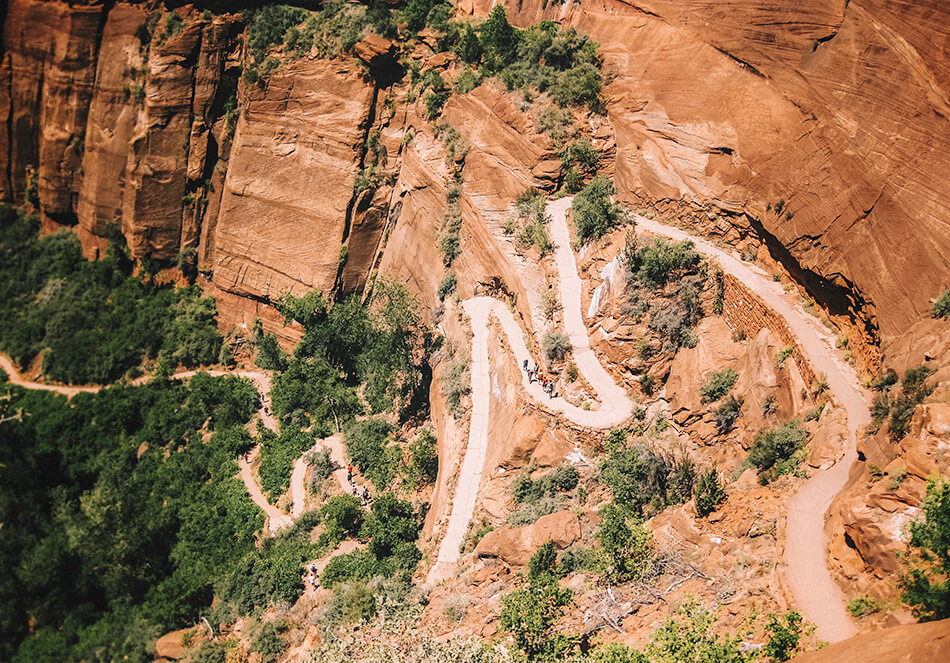
We set out on the West Rim Trail. The trail briefly follows the Virgin River before starting to climb steadily uphill along a series of switchbacks. The first part of the walk to Angels Landing is relatively easy, it’s a brisk hike up but noting technical.
Refrigerator Canyon and Walter’s Wiggles
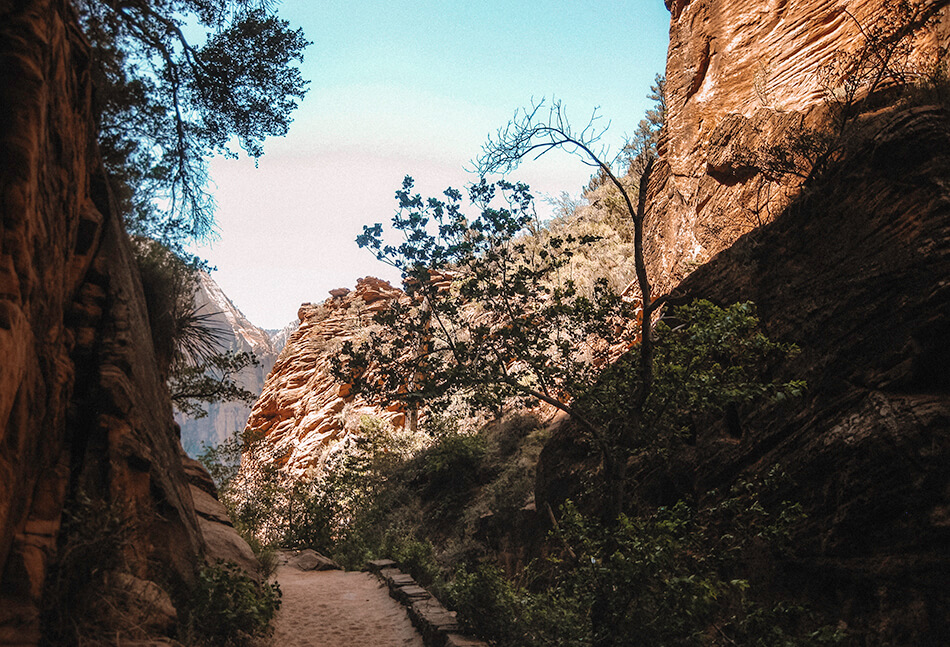
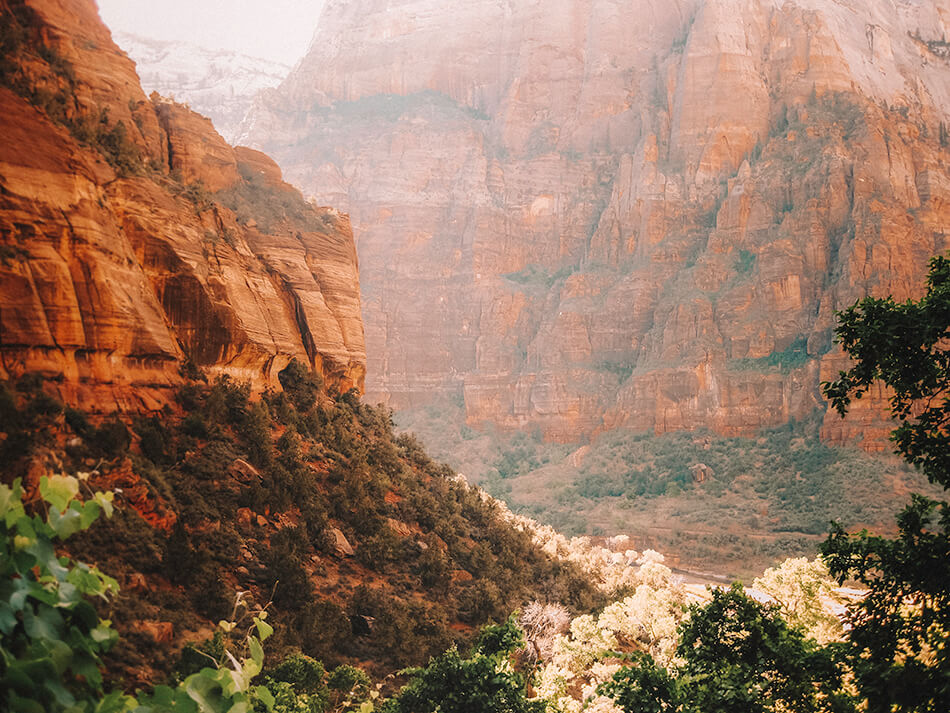
After the first set of switchbacks, we entered into Refrigerator Canyon. It is a very welcome flat stretch of trail through a cool and shady canyon. This was a good place to catch our breath and cool off. We weren’t even half way up and I’d already become quite drenched in sweat.
You know you’re getting close to the top when you make it to Walter’s Wiggles. A series of 21 steep (but thankfully short) switchbacks take you up the back of the mountain to Scouts Lookout. After about one hour, and 2 miles into the Angels Landing hike, we arrived at Scouts Lookout, more than 1000 feet above the starting point of the trail. My thighs were burning by the time I reached the top but the views were totally worth the effort!
Scouts Lookout
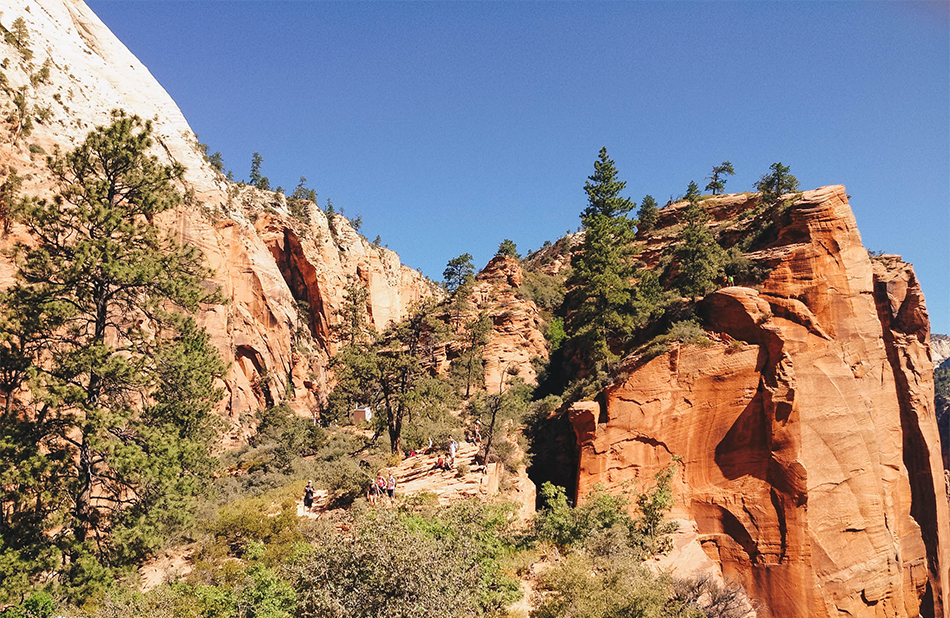
From Scouts Lookout, you get great views out over the valley below, and you can see the trail along the ridge that leads to Angels Landing ahead. It can get quite busy here – there is a toilet (hallelujah!) and it’s the place where most turn around once they get a glimpse of what’s still to come.
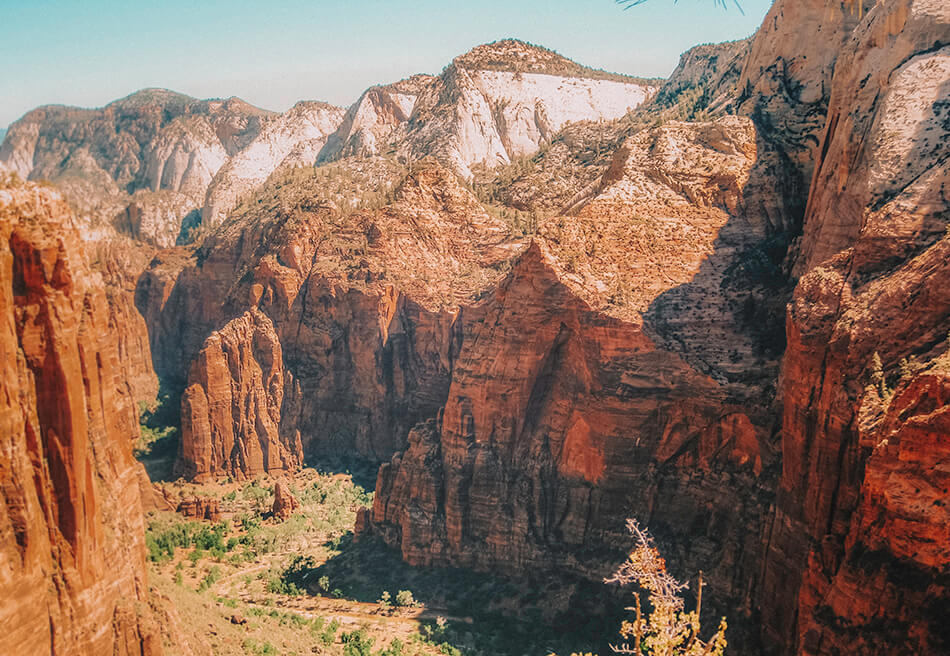
From Scouts Lookout, it’s just 500 feet of climbing to go. Remembering our plan, we both looked at each other and said “Let’s just do it.” I made it this far and didn’t want to miss out on the experience and views at the end of the trail.
We spent some time at Scouts Lookout fueling up on some trail mix, taking photos and mentally preparing ourselves for the challenging climb ahead. Anyone who has fear of heights should turn around here and just enjoy what they have achieved so far.
The Final Climb to Angels Landing
Having found my inner courage, I remembered the spine section of the trail is only about half a mile long – how difficult could it really be? Let me tell you, IT IS HARD! From this point on, you’ll be pulling yourself up by using bolted chains, scrambling over slippery sandstone, and crossing very steep, narrow and exposed sections of trail. Oh, and did I mention that if you fall you’ll probably die?
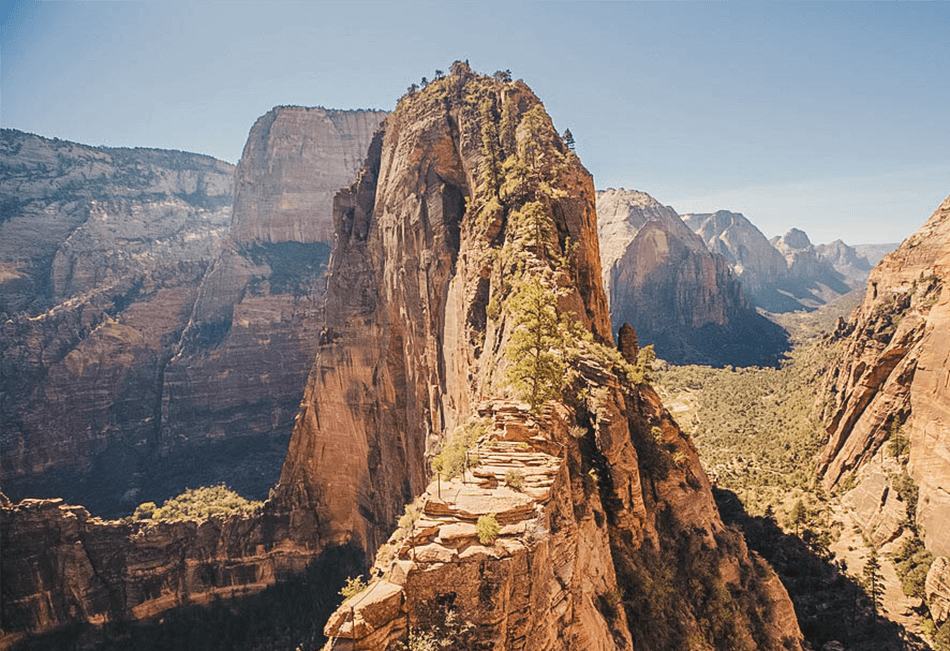
The first section of the spine isn’t too bad. It’s actually a good introduction to using the chains. But the middle section of the spine is where things get a bit more challenging. The trail narrows to just a few feet wide, with 1000-foot drop-offs on either side. With the help of the chains, you have to scramble up and down sandstone steps and boulders. As I’m pretty small, I had to pull myself up by using the chains almost the entire way up. Climbing the spine of Angels Landing was VERY tough on my legs, arms – and my mental sanity.
I wouldn’t recommend the Angels Landing trail to anyone who is not in a good level of physical fitness. Yes, it is only 0,5 mile long, but it is a damn hard 0,5 mile portion of trail. It took us between 1 and 1,5 hours to do only this part of the trail thanks to the fact that you’re climbing nearly straight up and using a lot of energy to do so.
By the time we reached the top, my legs were feeling like rubber bands, constantly shaking by the effort. But we made it to the top of Angels Landing! And we’re damn proud about it too! We spent the next 10 minutes or so perched at the top of Angels Landing, catching our breaths and taking pictures before we had to navigate our way down again.

Going back down
I dreaded the idea of going back down. Somehow, while climbing up, I was so focused on what lied ahead of me, that I wasn’t fully aware of the steep drop-offs right beside me. Going down though, the only thing I could see was the valley floor laying more than 1000 feet below. I probably slid down most of the exposed sections on my butt as it felt safer this way. You know, I didn’t want to fall off and like die.
Going down is a lot easier but taxing on the knees! We also had to stop and wait several times for some people climbing up. The trail can get quite clogged with traffic, as many sections are only wide enough for one-way traffic. We patted ourselves on the back for getting up this early and avoiding most of the crowds, but most of all for not giving up.
Hiking Angels Landing is an experience we’ll never forget and we’re still damn proud of us for making it to the top!
Things to know before you go
- I was not joking before, six people have lost their lives hiking Angels Landing. Do not underestimate this hike!
- If you’re (even mildly) afraid of heights, do not venture past Scouts Lookout! There are sections that are very narrow with 1000-foot drops on either side. This is not the place to conquer your fears, in fact you may even endanger fellow hikers. Parts of the trail are so narrow they only allow one-way traffic. Imagine you blocking the path because of a panic attack…
- This hike is NOT recommended for people in a bad physical shape. You will be climbing (and then descending) about 1500 feet, in about 2,5 miles each way. Though the largest part of the climb comes before the narrow spine of Angels Landing, there is still quite a physical part ahead. If you are very fatigued by the time you get to Scouts Lookout, it is advised not to continue. The spine gets very strenuous, as you mostly have to scramble, climb and pull your way to the top. This is not to be underestimated.
- Though we don’t have any kids ourselves, we wouldn’t recommend to do this hike with young ones. It was hard enough for us adults, and I had to pull myself up almost the entire 0,5 miles of the spine because of my (lack off) height. Kids will have a very though time, not to mention the dangerous drop-offs.
- This trail calls for hiking boots! I’ve seen people doing this hike on tennis shoes but the sandstone can be quite slippery and these types of shoes won’t give you any grip if you start sliding… it’s a long way down people.
- Bring water! There is no drinking water available at Scouts Lookout but I guarantee you’ll be in need of it. Don’t bring a hiking bottle along but bring a backpack. If you’re planning on scrambling your way up the spine, you’ll want both your hands free to hang onto the chains.
- Fuel up before you go and bring some snacks! Honestly, I can’t for the life of me remember why on earth we decided not to bring any snacks on this hike. The climb is physically challenging and I felt the need to fuel up frequently along the way. It is NOT good to start to feel faint when you’re hanging on a chain, on a one-way path, with a 1000-feet drop next to you.
- Your camera! If you made it to the top, you’ll want to take evidence of it, right?!
Are you planning on hiking Angels Landing?
Great post and beautiful pictures. How did you know what camera equipment you were going to bring?
Hi Steve!
We did this hike a couple of years ago before we started blogging. All pictures are actually taken either by iPhone or by compact camera. Yes, quality of pictures depends on what type of camera you use but it mostly depends on the man/woman behind the camera ;-).
Nowadays when we go hiking we often read up on the hike to kinda know what conditions we’ll be facing. We almost always bring along a light weight tripod and our DSLR camera tucked away in our backpack.
Marlo & Kristof
This was on my bucket list for visiting Zion but we unfortunately didn't have time so I'm totally living vicariously through your photos. It's crazy how six people have lost their lives there tho… I knew the hike was difficult but didn't know it was THIS dangerous! I might have to think twice about going then hahaa considering how clumsy I am.